Capturing a specific timeframe on Facebook is often necessary when you only need posts from certain dates, rather than the entire profile. Page Vault offers two ways to achieve this:
-
Scrape + Bulk Capture: Best for precise control over which posts are included.
-
Filters: A faster option when you want to begin capturing from a specific date back through the profile history.
Follow the steps below to choose the method that fits your needs.
Option A: Using Scrape (recommended for precise date ranges)
-
Open the Facebook profile in your Page Vault Browser.
-
Click the red Expand button.
-
Under Capture type, select Standard Capture.
-
Click Request Scrape.
-
This sends a request to our team. You’ll receive the completed scrape via email.
-
-
Once you have the scrape, return to the profile and click the red Expand button again.
-
Under Standard capture type, choose Bulk Capture a List of Post URLs and click the blue box to open the pop-up.
-
Paste the URLs of the posts you want to capture.
-
Click OK, then Expand and Capture!
Note: If you have access to Batch, you can also use the new Social Media tool to scrape and bulk capture posts directly from your Portal.
Option B: Using Filters (quickly start from a specific date)
-
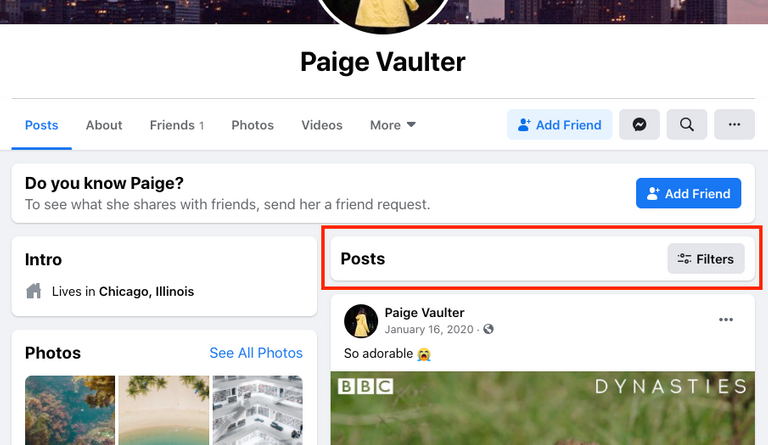
On the Facebook profile, click Posts: Filters.
-
Enter the start date for your capture.
-
This moves posts from that date to the top of the profile feed.
-
-
Click the Expand button to capture from that date back to the beginning of the profile.
Tip: You can lower the pixel limit before starting the capture to capture less content in a single run.